I am fairly incompetent when it comes to photographing my own work. It’s not from lack of equipment—I have a Nikon D750 digital SLR camera, photofloods, and a Slik tripod that’s so heavy I ought to be able to break my toe before I set my camera vibrating.
It’s the combination of cameras and the ego involvement of my own work that does me in. I exited the film age by tripping over a tripod while prepping a batch of slides for a show submission. Well, that camera was almost obsolete anyway.
Meanwhile, I watch my peers casually lean paintings against trees and shoot perfect images, while I struggle to remember to do it at all.
At any rate, here’s what I know about how to photograph paintings; I’ll try to practice what I preach.
A good cell phone can take a better photo than a bad DSLR, but more importantly, sometimes a cell phone is all you have at hand.
Don’t shoot your photos when you’re exhausted.
I don’t do anything well when I’m hot, tired, up against a deadline and thirsty. My resolution for 2025 is to photograph things calmly and when there’s still gas in my tank.
Oil painters have an additional complication in that impasto doesn’t always look great when it’s wet; it can be overly reflective. If there’s time to let it dry, that’s an advantage. But when something has been painted for an event, that’s a luxury you might not have.
Shoot your work parallel to the camera lens.
If you can hang your work on a wall, that’s perfect. If you can leave it on an easel pointing straight up and down, that’s about the same, and more practical. Failing that, you want the picture plane to be parallel to the camera lens, so that all four corners of the painting are the same distance from the lens. That results in minimal distortion.
Yes, you can ease some of that distortion in photo editing software, but you can’t do it perfectly, and there are times (like on the ocean’s horizon, or in perspective) when it matters.
Light your work evenly
Guidebooks will tell you to use indirect natural light, but where I live that’s usually too blue. Also, it’s cold outside, and no number of windows cast even light indoors. I use two photofloods at 45-degree angles to my work, and they cast very even, natural light across my paintings.
If you don’t have photofloods, you can rig up paper or fabric screens in front of LED bulbs.
I’ve learned two things the hard way: make sure any shades behind your subject are closed and make sure that any brightly-colored objects in the room are not casting reflected color onto your painting.
Don’t zoom in too close
If you do, you’re in danger of getting fish-eye, especially with a cell phone. Phones and cameras are such high resolution now that you don’t need to worry about every pixel.
Don’t use autoexposure
If you let your cell phone or camera choose an exposure for you, you are unlikely to love the results. On my cell phone, I take a couple different exposures and hope for the best. (Ask the internet if you don’t know how to do this for your phone.) On my camera, I auto-bracket.
You don’t need any great depth of field to photograph a painting. If you have a DSLR, set it for a larger f-stop (like f3.5, 2.8, or 1.4). That will give you a faster shutter. That’s the mistake I made on Friday that gave me blurry photos and why I’ll be reshooting all these pictures today. A little knowledge is a dangerous thing.
Once you’ve got an accurate exposure, don’t go into your editing software and autocorrect the levels. Paintings do not generally have 100% blacks and 0% whites, but autocorrection puts those in, as well as averaging out all the values to look like everything else. Who needs that?
Reserve your spot now for a workshop in 2025:
- Advanced Plein Air Painting, Rockport, ME, July 7-11, 2025.
- Sea and Sky at Acadia National Park, August 3-8, 2025.
- Find Your Authentic Voice in Plein Air, Berkshires, MA, August 11-15, 2025.
- Immersive In-Person Fall Workshop, Rockport, ME, October 6-10, 2025.
OMG – yes 🙁
Here in almost always preternaturally bright AZ I’ve found finding a shady spot outdoors and tilting your painting *slightly* downwards (toward the ground) helps eliminate light bounce – as long as the ground isn’t shiny. The trick is not to drop it…. :/ ask me how I know.
Oh, I understand about dropping it… what I can’t get past is the “shiny ground” part. Here we call that a pond.
Additional tips from a photo-illustrator of more than 45 books, a watercolor artist, and your friend. Nikon makes a 105mm macro lens which is perfect for all sizes of art and also eliminates and barrel in hour-glass distortion found in other lenses, especially zoom lenses. For the best even light, use a single source far away…the sun. Shoot watercolors in full sun, your camera slightly out of the shadow on your art to avoid shadows on any rough textured paper. Shoot oils and acrylics, which have three dimensional brush strokes that will catch sun highlights in every little bump, in the open sky shadow, like next to the shadow of a house, to catch the painting less the brush bump highlights. It will not be as full contrast as the full sun, but that can easily be adjusted in Photoshop Elements (works great and you don’t have to buy the expensive Photoshop subscription.
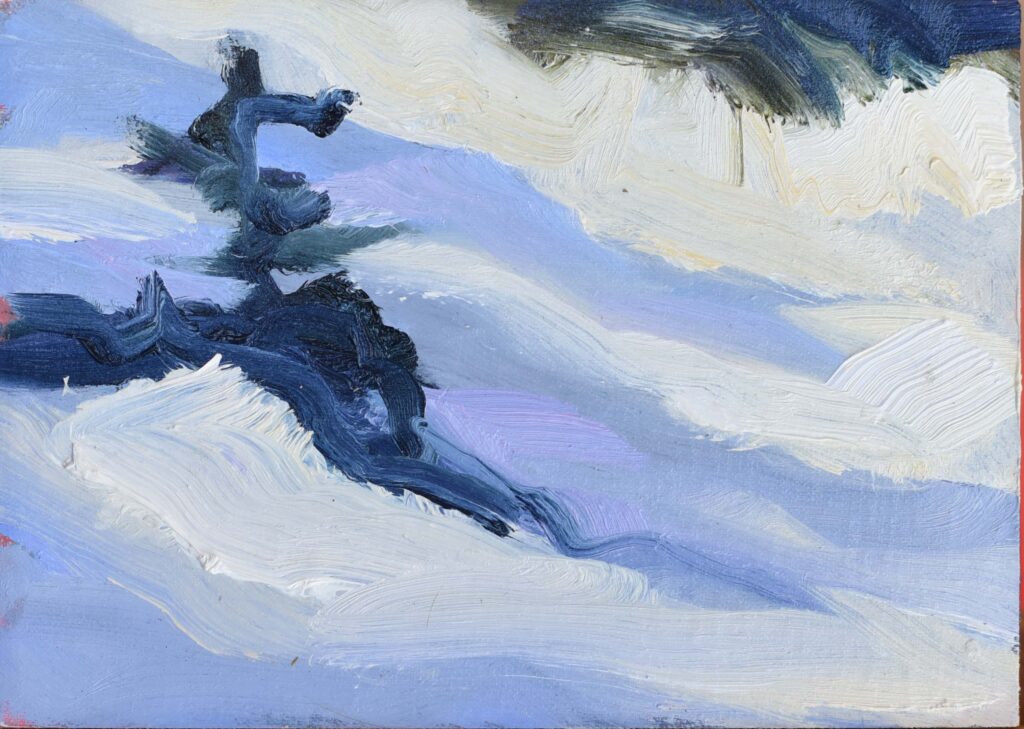
PS I really like your 4″x6″ Baby Spruce Tree in Snow, the abstract of reality… way to go…